

Surface tools
The surface tools are much like the form tools in that they work only with thin, non-solid geometry. There are many tools to use in this tab, but we will only use the PATCH tool for now and we will explore more in Chapter 12:
- Notice that we have a surface body since we did not close out the holes at the top and bottom. Click the Single View icon at the bottom of the screen to return to a single view from the multiple views.
- Click on the SURFACE tab at the top of the screen.
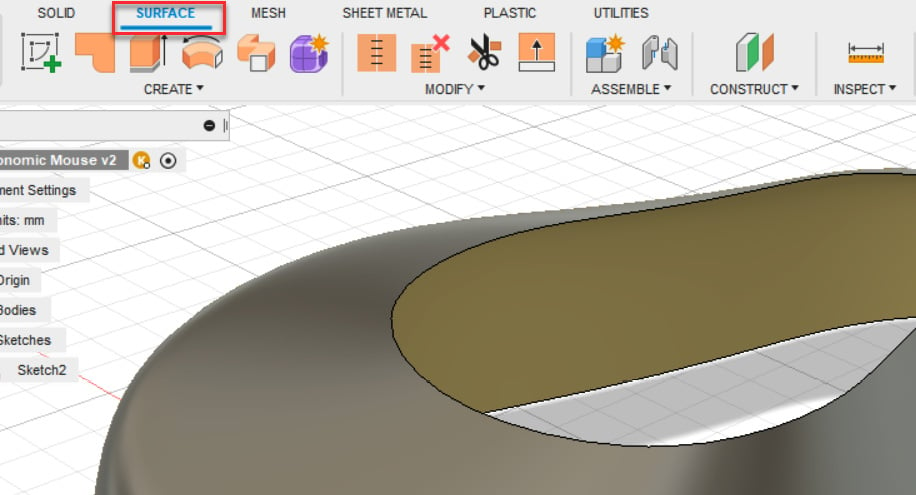
Figure 11.44 – The SURFACE tab location
- Click on the CREATE drop-down arrow and click on the Patch tool.
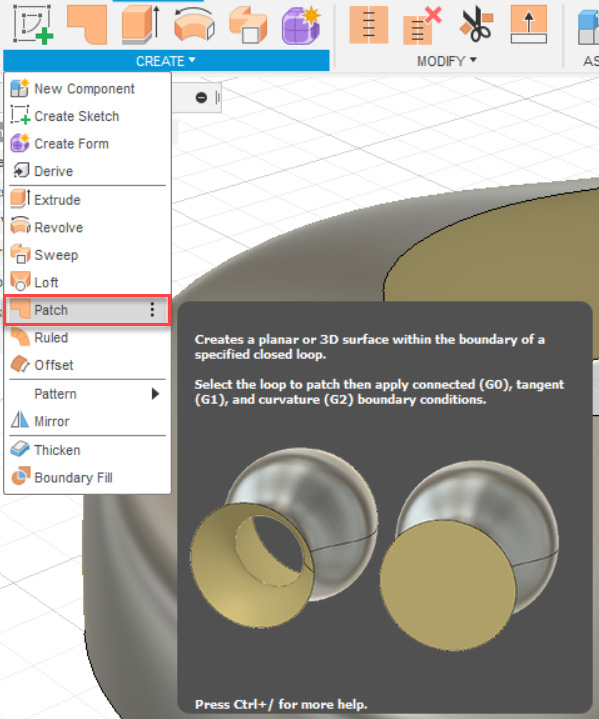
Figure 11.45 – The Patch tool location
- Orbit to view the bottom of the mouse and click on the edge. A preview of the flattened bottom will appear. Click OK to close the command.
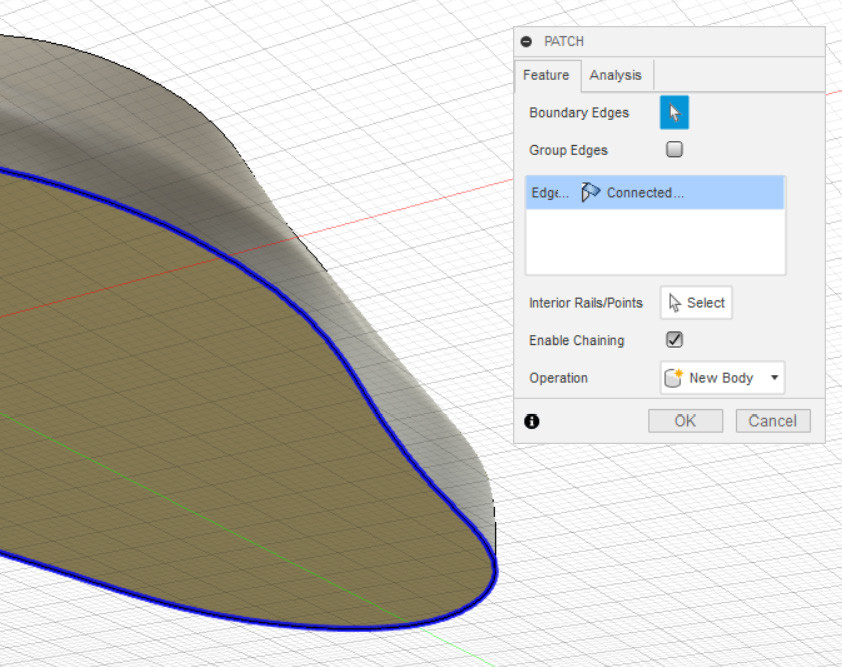
Figure 11.46 – PATCH tool bottom face selection
- Click on the PATCH tool...