

Creating a part drawing
Placing drawings on a sheet helps to show the size of a part and how multiple parts may join. To fit large-sized objects onto a small sheet, you set the part to a scale, which lets someone know that the part has been scaled down to fit onto a drawing sheet.
For this section, we will pull in the parts and place them on a few separate drawings. One drawing will show the entire assembly, the next will show Holder 01, and the third will be Holder 2. Normally, you would dimension every area that a fabricator would need to create this part, but since we will be 3D-printing it, we will place some basic overall size dimensions.
Let’s get started:
- Open your bottle design project, if you had previously closed it out, click on the DESIGN drop-down arrow, and go to DRAWING | From Design:
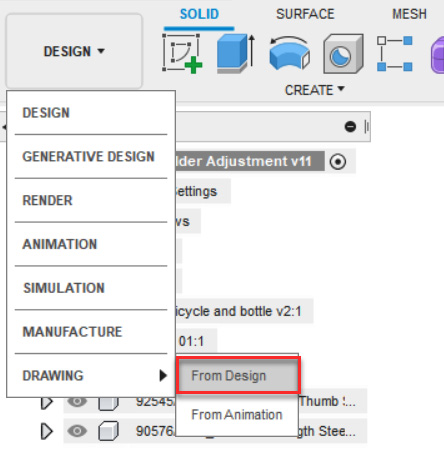
Figure 10.49 – Drawing workspace location