

Mixing actions on the timeline
So, we have our walk animation set up the way we want. But how do we record it on the timeline? Can we mix other actions while doing this? Well, let’s take a look at trying to record some basic animation. To do this, follow these steps:
- Make sure you’re on the Record tab.
- For the Walk behavior, switch the Mode option to Left & Right Arrow Keys:
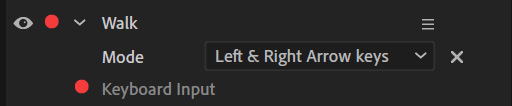
Figure 9.13: We will use the arrow keys for this test
- Press the Record button above the timeline.
- Once the countdown completes, the timeline will scroll and anything you do will record. In this case, move the character with the left and right arrow keys.
- After about 10 seconds, press the Stop button.
- You should now see, below the puppet, your recorded frames for the walking animation:
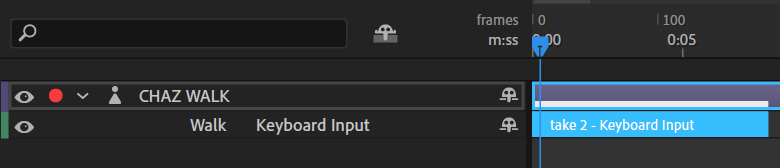
Figure 9.14: The keyframe input is shown on the timeline
So, what happens if we want to, in the middle of the animation...