

Separating out the hair
Depending on the complexity of the scene and rig, you may find you want to animate the hair in its own layers, especially as we introduce more behaviors into the mix. This means we will need to go back to the rig and ensure the hair is isolated for the three head phases. To do this, see the following:
- In Photoshop, start at the top of the layer list. In this case, expand 3/4th Head and click Background.
- You can select the hair in a variety of different ways. The quickest may be to use the Magnetic Lasso Tool option (cycle to it using L on the keyboard):
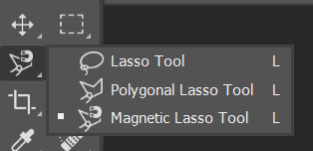
Figure 3.44: Pressing L allows you to cycle through a variety of useful selection tools