

Tagging the body layers
Like the head and mouth, we need to tag the body properly. Tagging the body parts works a little differently – we will need to add puppet handles and then tag them so the software knows how to react.
A puppet handle is essentially a control point we put on the rig, which can behave in various ways. Right now, we need to decide which parts of the rig need handles. Luckily, the Tags diagram makes it easy to keep track of which points go where on a character. Let’s get going:
- Collapse the main Heads group.
- Expand the Body group so we can see all the body layers:
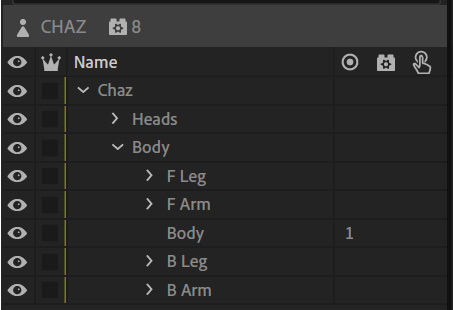
Figure 4.31: The body layers
- Start by clicking on the F Leg group.
- Click on the Handle tool located at the bottom of the screen (L on the keyboard):

Figure 4.32: The circle with the dot in the middle is the Handle tool
- Add two handles to the leg: one for the knee and one for the ankle. These handles...