
We are now going to familiarize ourselves with the Unity Editor interface so that we know our way around Unity.
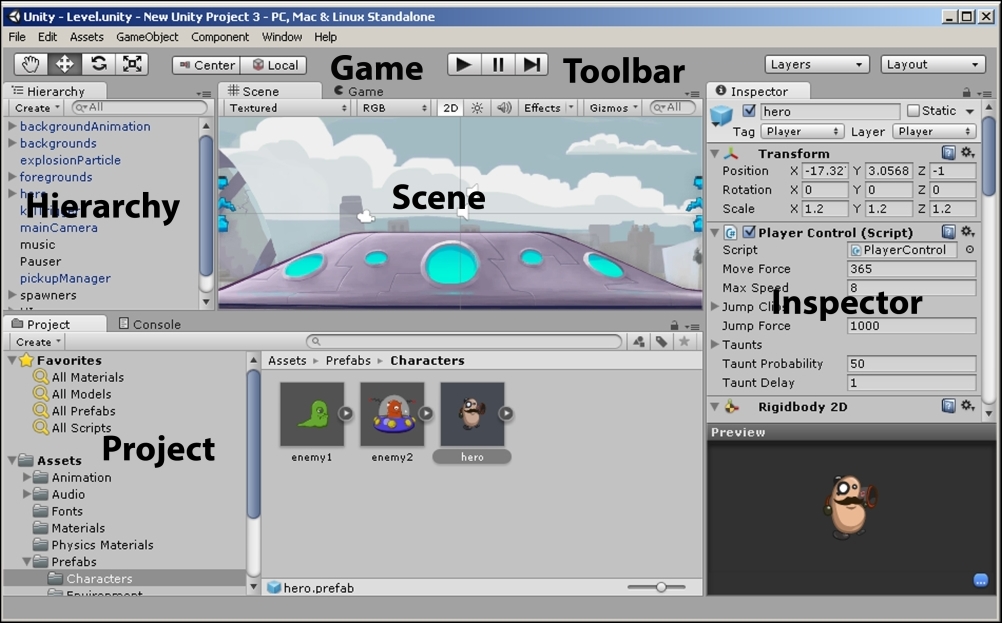
The main editor window is made up of Views. Views are all the tabbed windows that you see, namely:
Toolbar
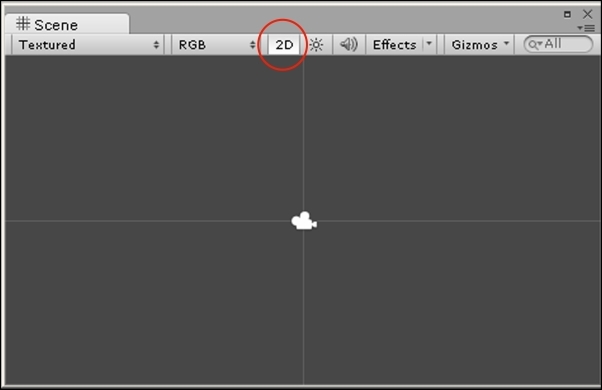
Scene
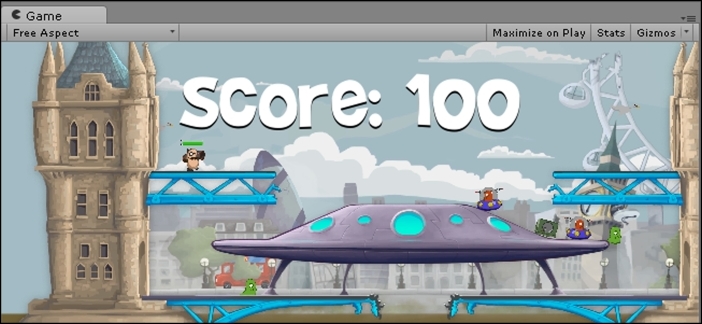
Game
Project Browser
Hierarchy
Inspector
Other Views that are not shown by default
We can see the main editor with all of its Views, which were just mentioned, in the following screenshot:
At the very top of the editor interface, we have all the controls.
The Transform tools are used with Scene View to drag the camera, move the position of objects, and rotate and scale objects in the scene respectively, as shown in the following screenshot:

When we add an object to our scene and select it, we can see arrows protruding along the x and y axes from our object. These arrows are called Transform Gizmos, and we use them to move, rotate, and size our objects.
Selecting each of the following Transform tools changes the gizmo (the bounding box on your selected object) in Scene View, as shown in the screenshot that follows the description of the tools:
Translate (the shortcut key is W): This is used to move the selected object in our scene
Rotate (the shortcut key is E): This is used to rotate our selected object
Scale (the shortcut key is R): This is used to increase or decrease the size of our object

Transform Gizmos, viewed 26 June 2014, http://docs.unity3d.com/412/Documentation/Manual/PositioningGameObjects.html
The Transform Gizmo toggles are used to toggle the position of the Transform Gizmos. Center will position them at the center of the object, whereas Local will position them relative to the object's rotation. The toggles are displayed in the following screenshot:

The following screenshot shows the control that is used with Game View to play, pause, and step through the game in the editor:

The Layers drop-down box is used with Scene View to choose which objects we want to see in the editor's Scene View according to the layer. It is useful when we are editing a complicated level or scene. We select it by clicking on the drop-down menu displayed in the following screenshot:

The Layout drop-down menu enables us to set up the positioning of the interface to our own liking. Depending on our screen's resolution and size, we may prefer one layout over another and should therefore try each one out by clicking on the drop-down menu shown in the following screenshot: