Book Image

Learning Unity 2D Game Development by Example

By : Venita Pereira
Book Image

Learning Unity 2D Game Development by Example

By: Venita Pereira

Overview of this book

<p>If you are looking for a guide to create 2D games using Unity, look no further. With this book, you will learn all the essentials of 2D game development by creating five real-world games in a step-by-step manner throughout the course of this book.</p> <p>Starting with a blank scene, you will learn all about the new Unity 2D toolset, which will enable you to bring your scene to life. You will create characters, make them move, create some enemies, and then write code to destroy them. After figuring out all the necessities of creating a game, this book will then assist you in making several different games: games with collision, parallax scrolling, Box2D, and more.</p> <p>By the end of this book, you will not only have created several small games, but you will also have the opportunity to put all your new-found knowledge into creating and deploying a larger, full game.</p>
Table of Contents (17 chapters)
Learning Unity 2D Game Development by Example
Credits
About the Author
About the Reviewers
www.PacktPub.com
Preface
Index

Two methods to set a background


We will learn how to set up our scene with a static background using two methods:

  • Using a static image

  • Using a tileset

Setting a background using a static image

When we want only a few images of different sizes to make up our background, we use static images.

Importing our asset

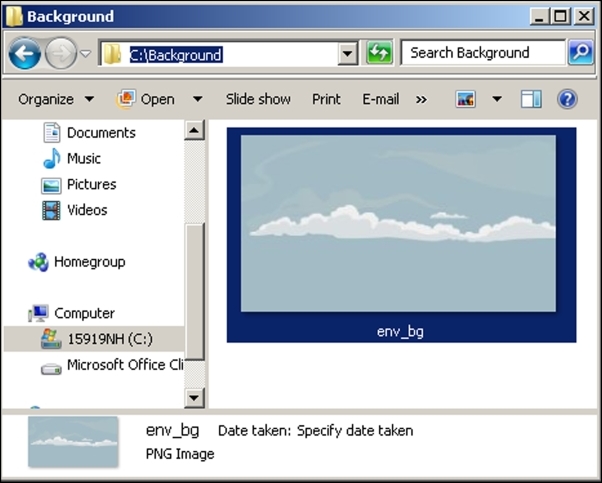
First, we will need to either create an image or select a pre existing image that we will be using as our background by finding its location on our PC, as shown in the following screenshot:

For clarity and organizational purposes, it is best to create a Sprites Folder within the Project Browser with a subfolder called Environment to store all the assets that we will use to create our game environment.

To create the subfolder, we right-click on the Assets folder in the left-hand side panel of the Project Browser and go to Create | Folder, or we can click on the Create button at the top of the left panel.

We then drag our image into the Assets section of the Environment subfolder within the Project...