-
Book Overview & Buying

-
Table Of Contents

Hands-On Unity 2020 Game Development
By :
Hands-On Unity 2020 Game Development
By:
Overview of this book
Over the years, the Unity game engine has extended its scope from just being about creating video games to building AR/VR experiences, complex simulations, real-time realistic rendering, films, and serious games for training and education. Its features for implementing gameplay, graphics, and customization using C# programming make Unity a comprehensive platform for developing professional-level, rich experiences.
With this book, you'll be able to build impressive Unity projects in a step-by-step manner and apply your knowledge of Unity concepts to create a real-world game. Complete with hands-on tutorials and projects, this easy-to-follow guide will show you how to develop your first complete game using a variety of Unity tools. As you make progress, you'll learn how to make the most of the Unity Editor and create scripts using the C# programming language. This Unity game development book will then take you through integrating graphics, sound, and animations and manipulating physics to create impressive mechanics for your games. You'll also learn how to code a simple AI agent to challenge the user and use profiling tools to ensure that the code runs in a performant way. Finally, you'll get to grips with Unity's AR Foundation for creating AR experiences for 3D apps and games.
By the end of this book, you'll have developed a complete game and will have built a solid foundation using Unity's tooling ecosystem to develop game projects of any scale.
Table of Contents (24 chapters)
Preface

Chapter 1: Designing a Game from Scratch
 Free Chapter
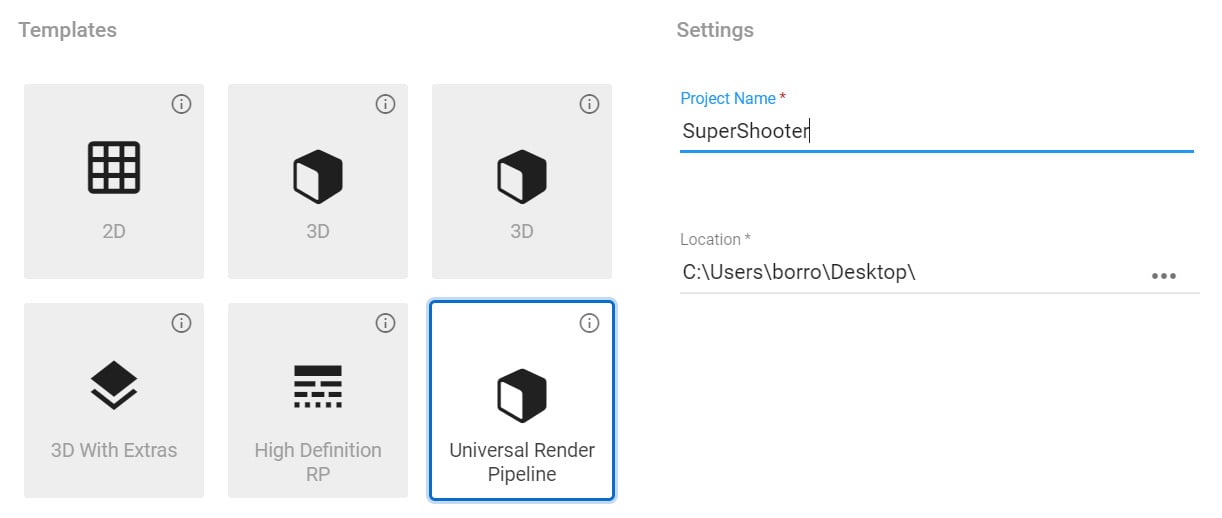
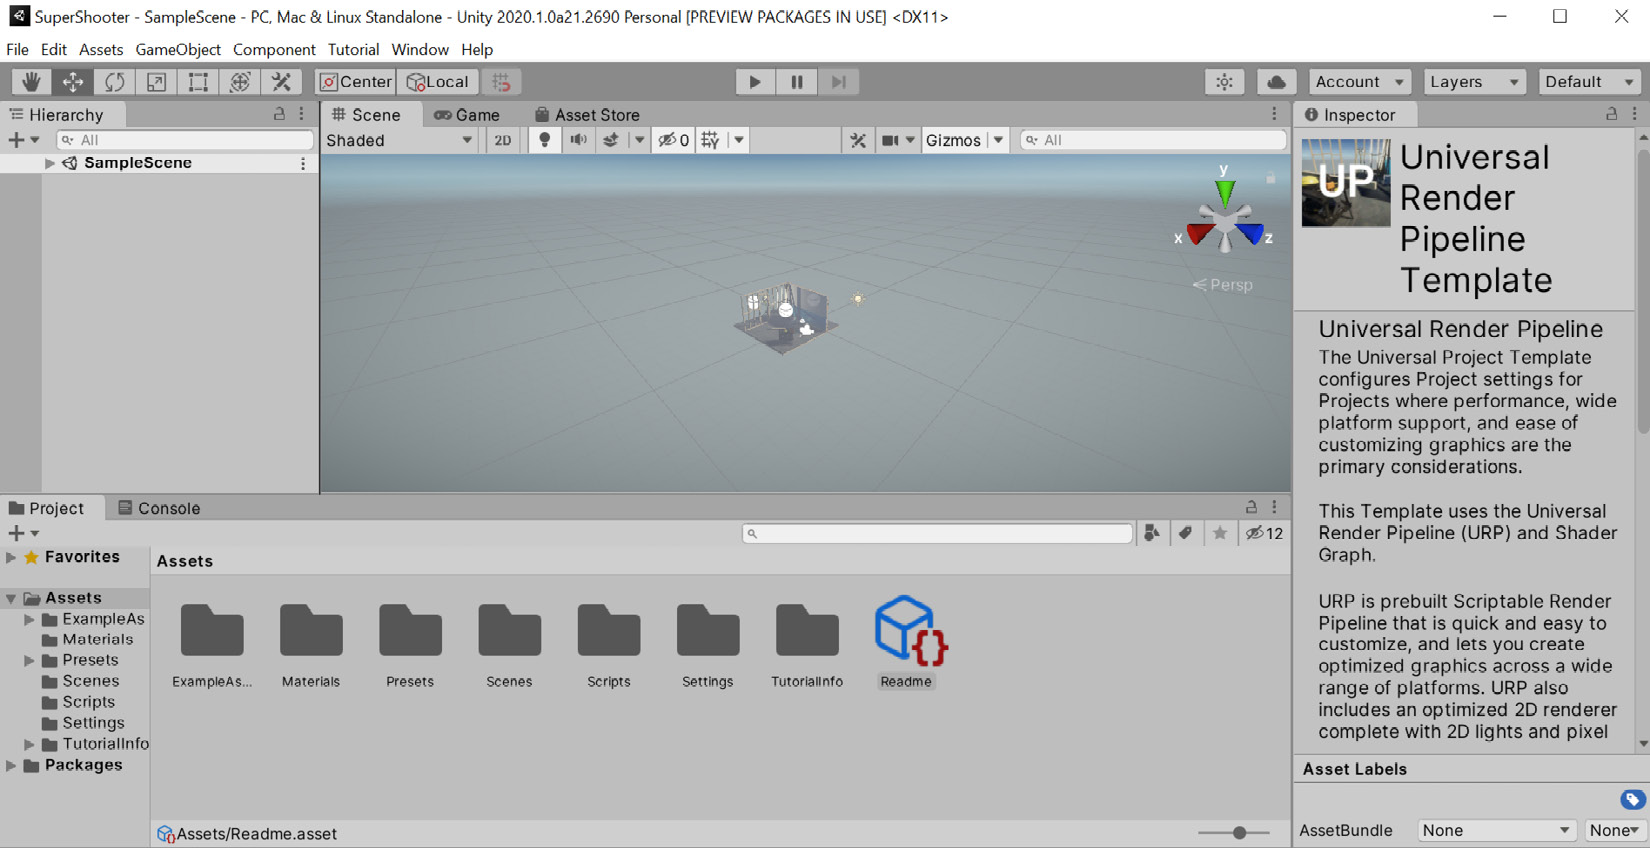
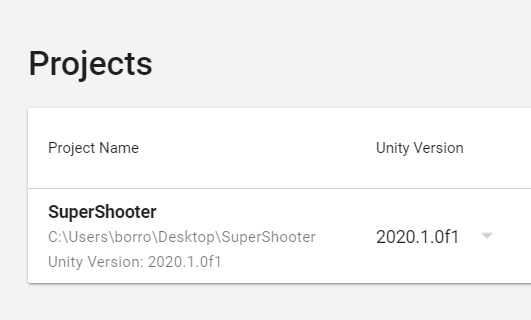
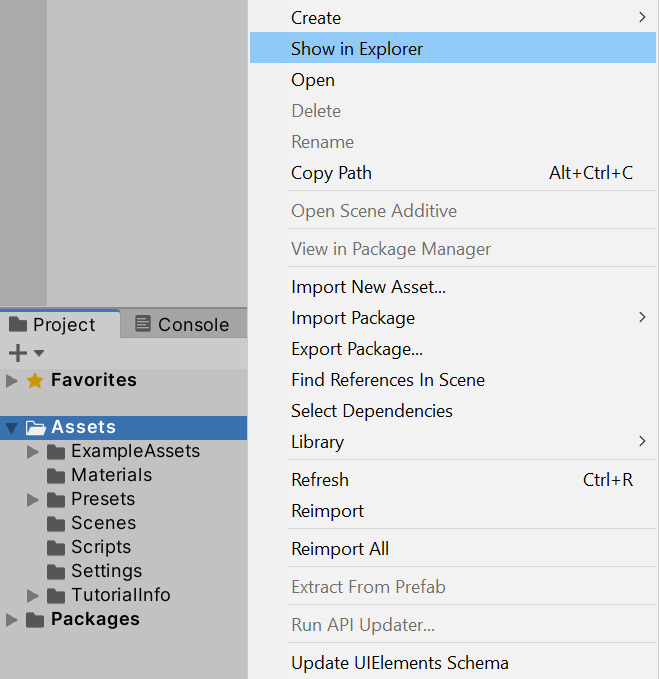
Chapter 2: Setting Up Unity
Chapter 3: Working with Scenes and GameObjects
Chapter 4: Grayboxing with Terrain and ProBuilder
Chapter 5: Importing and Integrating Assets
Chapter 6: Materials and Effects with URP and Shader Graph
Chapter 7: Visual Effects with Particle Systems and VFX Graph
Chapter 8: Lighting Using the Universal Render Pipeline
Chapter 9: Fullscreen Effects with postprocessing
Chapter 10: Sound and Music Integration
Chapter 11: User Interface Design
Chapter 12: Creating Animations with Animator, Cinemachine, and Timeline
Chapter 13: Introduction to Unity Scripting with C#
Chapter 14: Implementing Movement and Spawning
Chapter 15: Physics Collisions and Health System
Chapter 16: Win and Lose Conditions
Chapter 17: Scripting the UI, Sounds, and Graphics
Chapter 18: Implementing Game AI for Building Enemies
Chapter 19: Scene Performance Optimization
Chapter 20: Building the Project
Chapter 21: Finishing Touches
Chapter 22: Augmented Reality in Unity
Other Books You May Enjoy