Book Image

Mastering Adobe Captivate 2019 - Fifth Edition

By : Dr. Pooja Jaisingh, Damien Bruyndonckx
Book Image

Mastering Adobe Captivate 2019 - Fifth Edition

By: Dr. Pooja Jaisingh, Damien Bruyndonckx

Overview of this book

Adobe Captivate is used to create highly engaging, interactive, and responsive eLearning content. This book takes you through the production of a few pieces of eLearning content, covering all the project types and workflows of Adobe Captivate. First, you will learn how to create a typical interactive Captivate project. This will give you the opportunity to review all Captivate objects and uncover the application's main tools. Then, you will use the built-in capture engine of Captivate to create an interactive software simulation and a Video Demo that can be published as an MP4 video. Then, you will approach the advanced responsive features of Captivate to create a project that can be viewed on any device. And finally, you will immerse your learners in a 360o environment by creating Virtual Reality projects of Adobe Captivate. At the end of the book, you will empower your workflow and projects with the newer and most advanced features of the application, including variables, advanced actions, JavaScript, and using Captivate 2019 with other applications. If you want to produce high quality eLearning content using a wide variety of techniques, implement eLearning in your company, enable eLearning on any device, assess the effectiveness of the learning by using extensive Quizzing features, or are simply interested in eLearning, this book has you covered!
Table of Contents (17 chapters)
7
Working with Quizzes
14
Variables and Advanced Actions

Adding accessibility text for slides

The next step is to add accessibility text to the slides and objects. Remember that this accessibility text will be read aloud by the screen readers for visually impaired learners. Let's look at the workflow to add slide-level accessibility text first:

  1. If needed, return to the Chapter13/takeTheTrain.cptx file.
  2. Use the Filmstrip panel to go to slide 3.
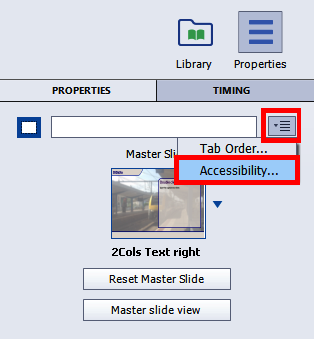
  3. Click the Properties icon on the Toolbar to open the Properties inspector.
  4. Click the button on the right side of the Name field and select Accessibility:
  1. This will open the Slide Accessibility dialog. You can enter the text in the field, or if you have slide notes added for the slide, you can click the Import Slide Notes button. 

This will add the slide notes to the field, and you can use them as Accessibility text. You can also edit this text, if required:

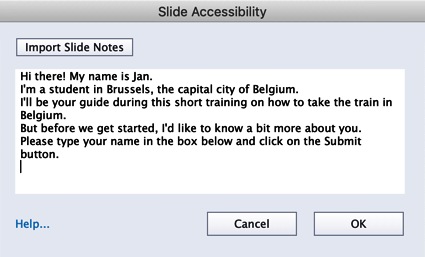
  1. Click OK to confirm the addition of notes and close the dialog.

You can follow the same steps to add accessibility text to each...