Book Image

Mastering Adobe Captivate 2019 - Fifth Edition

By : Dr. Pooja Jaisingh, Damien Bruyndonckx
Book Image

Mastering Adobe Captivate 2019 - Fifth Edition

By: Dr. Pooja Jaisingh, Damien Bruyndonckx

Overview of this book

Adobe Captivate is used to create highly engaging, interactive, and responsive eLearning content. This book takes you through the production of a few pieces of eLearning content, covering all the project types and workflows of Adobe Captivate. First, you will learn how to create a typical interactive Captivate project. This will give you the opportunity to review all Captivate objects and uncover the application's main tools. Then, you will use the built-in capture engine of Captivate to create an interactive software simulation and a Video Demo that can be published as an MP4 video. Then, you will approach the advanced responsive features of Captivate to create a project that can be viewed on any device. And finally, you will immerse your learners in a 360o environment by creating Virtual Reality projects of Adobe Captivate. At the end of the book, you will empower your workflow and projects with the newer and most advanced features of the application, including variables, advanced actions, JavaScript, and using Captivate 2019 with other applications. If you want to produce high quality eLearning content using a wide variety of techniques, implement eLearning in your company, enable eLearning on any device, assess the effectiveness of the learning by using extensive Quizzing features, or are simply interested in eLearning, this book has you covered!
Table of Contents (17 chapters)
7
Working with Quizzes
14
Variables and Advanced Actions

Working with Buttons

A Button can stop the playhead and wait for the student to click it. This triggers an action. Buttons are an essential part of every Captivate project and allow the student control the overall pace of the course.

You will now return to the takeTheTrain.cptx project and add a button to slide 3:

  1. Open the Chapter05/takeTheTrain.cptx file.
  2. Use the Filmstrip to navigate to slide 3.
  3. In the Toolbar, use the Interactions | Button icon to insert a new button in the middle of the slide. Alternatively, you can also use the Shift + Ctrl + B (Windows) or the shift + command + B (Mac) keyboard shortcut.
  4. With the new button selected, open the Properties inspector.

When a button is selected on the stage, the Properties inspector shows the properties that are relevant to a Button object. Notice that there are three tabs available (Style, Actions, and Options), as shown in the following screenshot:

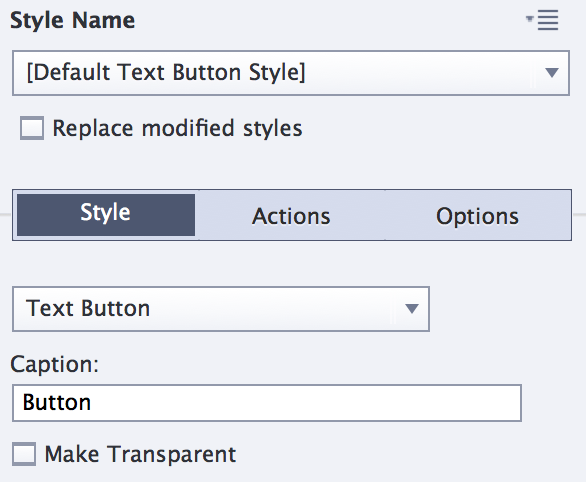
The Actions tab is displayed in addition to the usual Style and Options tabs. This...