Book Image

Mastering Adobe Captivate 2019 - Fifth Edition

By : Dr. Pooja Jaisingh, Damien Bruyndonckx
Book Image

Mastering Adobe Captivate 2019 - Fifth Edition

By: Dr. Pooja Jaisingh, Damien Bruyndonckx

Overview of this book

Adobe Captivate is used to create highly engaging, interactive, and responsive eLearning content. This book takes you through the production of a few pieces of eLearning content, covering all the project types and workflows of Adobe Captivate. First, you will learn how to create a typical interactive Captivate project. This will give you the opportunity to review all Captivate objects and uncover the application's main tools. Then, you will use the built-in capture engine of Captivate to create an interactive software simulation and a Video Demo that can be published as an MP4 video. Then, you will approach the advanced responsive features of Captivate to create a project that can be viewed on any device. And finally, you will immerse your learners in a 360o environment by creating Virtual Reality projects of Adobe Captivate. At the end of the book, you will empower your workflow and projects with the newer and most advanced features of the application, including variables, advanced actions, JavaScript, and using Captivate 2019 with other applications. If you want to produce high quality eLearning content using a wide variety of techniques, implement eLearning in your company, enable eLearning on any device, assess the effectiveness of the learning by using extensive Quizzing features, or are simply interested in eLearning, this book has you covered!
Table of Contents (17 chapters)
7
Working with Quizzes
14
Variables and Advanced Actions

The Highlight Box object

Let's start by talking about the Highlight Box. As its name implies, a Highlight Box is used to highlight a specific area of the screen. A Highlight Box is a rectangle that appears and disappears from the screen according to its position on the Timeline panel.

When using the Demo recording mode during the capture, Captivate adds a Highlight Box for each mouse click:

  1. In Captivate, open the chapter08/encoderDemo_800.cptx file.
  2. Use the Filmstrip panel to go to the first slide.

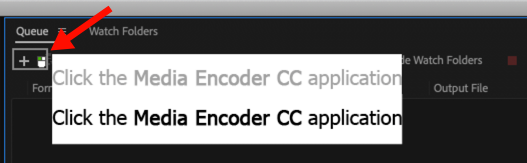
On Slide 1, you will see three objects: a Text Captions, a Mouse, and a small Highlight Box below the mouse pointer:

This Highlight Box was automatically added by Captivate during filming.

  1. Click the Highlight Box to make it the active object.
Selecting the Highlight Box
Because the Highlight Box is so close to the Mouse object, you may end up selecting the Mouse instead of the Highlight Box. You can use the Timeline panel to select the desired object.

Selecting the Highlight Box updates...