
Animating the brush
To get started with this tutorial, make sure to download the Paint Brush Startup.blend file. You can find a link to this in the Technical requirements section. This file includes a basic model of a paintbrush and an HDR for lighting.
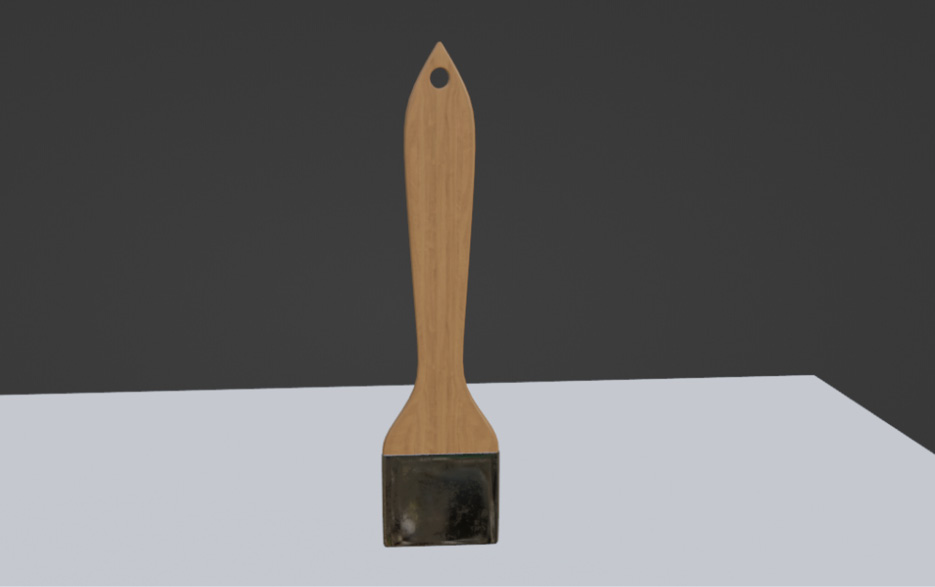
Figure 13.1 – Paintbrush model
The first step is to add a curve object. This is going to be the path for the brush to follow while it paints on the canvas! Let’s go ahead and get started:
- Press Shift + A, go to Curve, and select Bezier Curve. You can also press F2 and rename this curve so that it’s easier to find later!
- Go to the Edit mode with the curve selected. From here, you will be able to select the points on either end of the curve and rotate, scale, and move them however you like. You can also press E to extrude, and this will add more points to the curve. Feel free to customize this path however you like! But also, make sure that the curve is not floating above...