

Setting up the simulation
Before we get started creating a simulation, make sure to download the Waterfall Setup.blend file. This file includes a basic waterfall model with rock material, a sky texture, and some render settings already in place. If you want to create your own waterfall model, feel free to do that as well!
We will first start out by adding a domain object and setting up all the fluid settings to get the best simulation result! Go ahead and open up the Waterfall Setup.blend file and let’s get started. We’ll follow these next steps:
- We have created a couple of simulations already in this book, and the process is pretty similar. The first thing we need to add is a domain to fit the waterfall model. Press Shift + A and add a Cube object. Remember to make the domain just big enough to fit the waterfall model. The following screenshot shows the side view of the domain object:
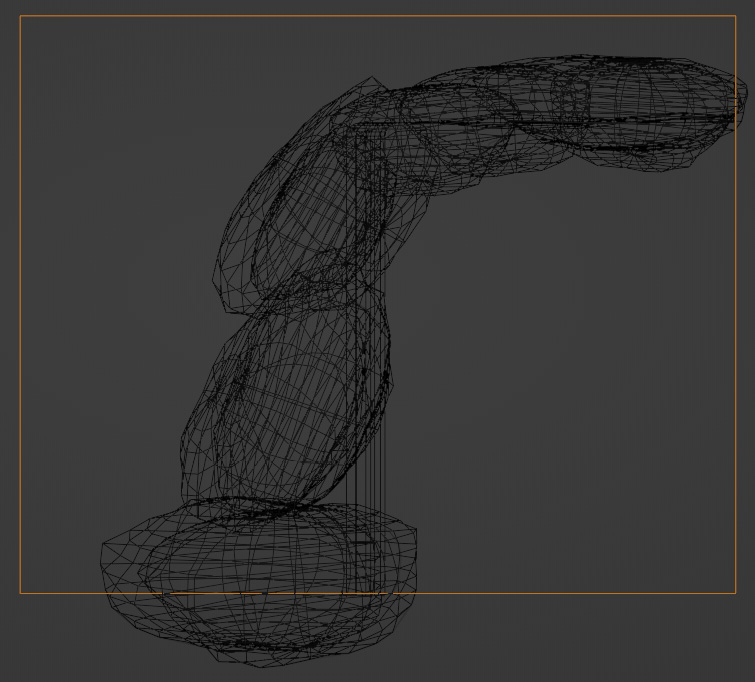
Figure 4.1 – Side view of domain
...