
Try it yourself
In this exercise, we’re going to use a few of the many path effects to make a quick logo for an imaginary chainmail jewelry company. We will then stack some more path effects to make the logo appear as if it’s on a flag, waving in the wind, as shown in Figure 12.12.
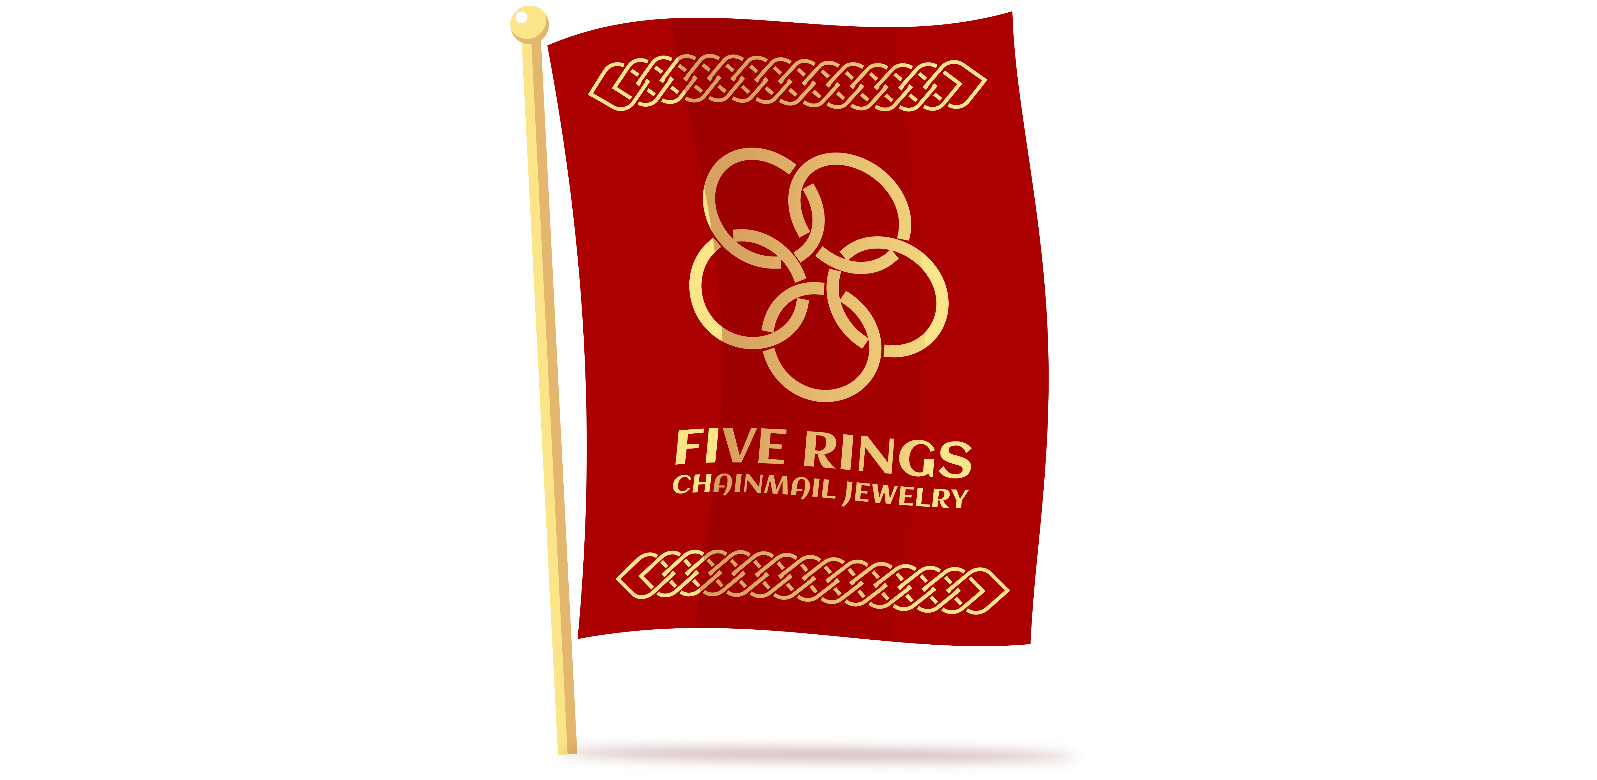
Figure 12.12 – The logo and flag for Five Rings Chainmail Jewelry
Normally, this would be a pretty big task, but with path effects, we can have our logo sorted in no time! Let’s start with the rings:
- We can just make a single circle, with a thick stroke, and then choose Path > Path Effects… to call up our trusty Path Effects dialog. We then hit the + button to add a Rotate copies path effect, changing Number of copies from the default of 6 to 5, as shown in Figure 12.13.
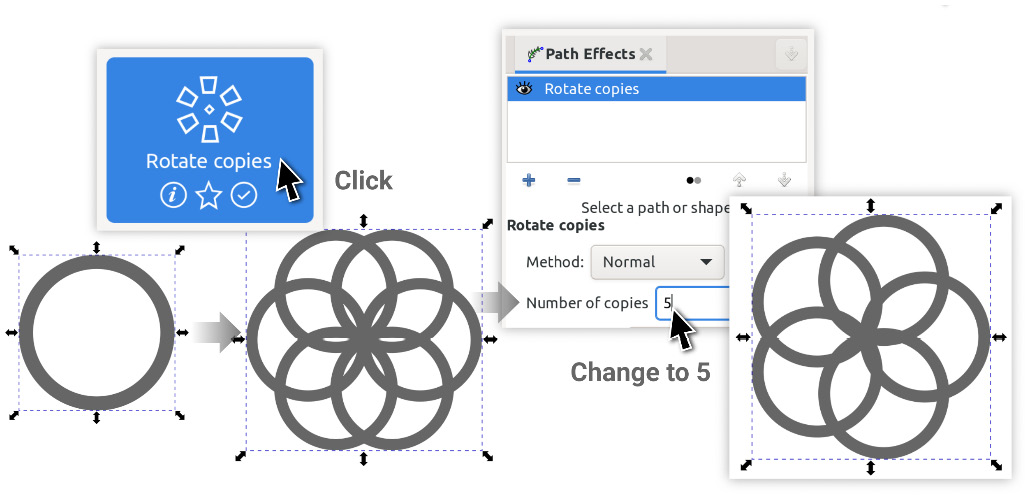
Figure 12.13 – Adding a Rotate copies path effect and changing the number of copies