

Resizing shapes
With a freshly drawn rectangle (or another object), when you click on the Select and Transform tool, you will notice handles at the corners change to resizing arrows. Grabbing these will allow you to resize the shape or shapes you have selected. Note that holding the Ctrl key while dragging a handle will preserve the aspect ratio of the shape in much the same way as it does when you are drawing shapes.
This means, for example, if you resize a square, it will stay a square rather than distort into a rectangle, as shown in Figure 2.19:
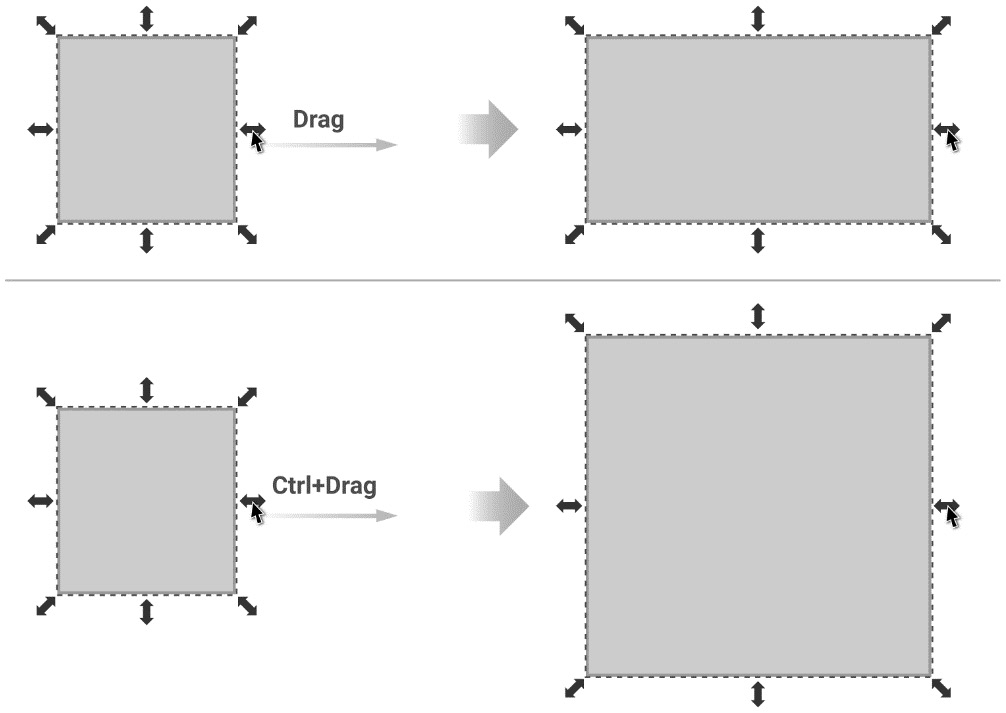
Figure 2.19 – Dragging resize handles to resize in the direction indicated by the arrow handles
This is far from the only way to resize shapes! Let’s explore a few more useful options, shall we?
Resizing the height and width values with the Select and Transform tool
You may have noticed the height (H) and width (W) values in the Tool control bar when you have a shape selected (see Figure...