
Try it yourself
Okay, okay, so maybe that’s not the most fascinating thing to make, but we’re dealing with basic shapes here, and a turntable (also known as a record player) has a variety of shapes that utilize most of the tools we’ve discussed so far. We’ll spice it up with a modern view screen with an equalizer built right in too.
Here’s how to do it:
- Let’s start with the Rectangle tool and draw the series of shapes shown in Figure 3.21 (left). I’ve drawn them like this so you can see the different shapes before we move them into place to form the main body of our turntable, as you can see in Figure 3.21 (right):
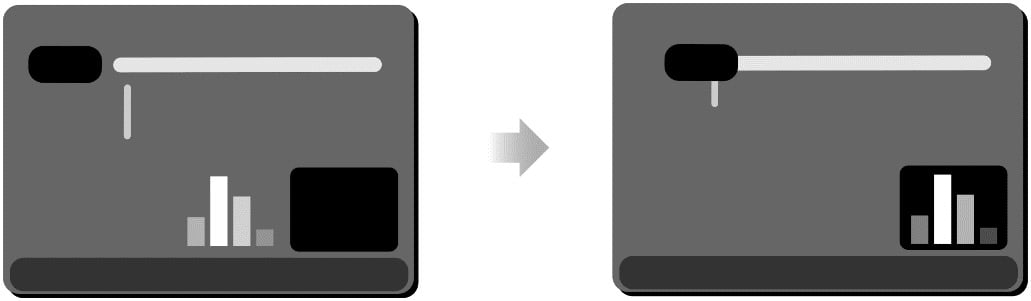
Figure 3.21 – (left) All shapes drawn with the Rectangle tool (right). Rectangles repositioned to form the tonearm, equalizer, and the front panel of the turntable