
The Desk and Page areas
This area, shown in Figure 1.14, is where you’ll be drawing with the various tools in the Tool bar. The Page area, by default, is an A4-sized page but can be changed by selecting File > Document Properties or pressing Ctrl + Shift + D:
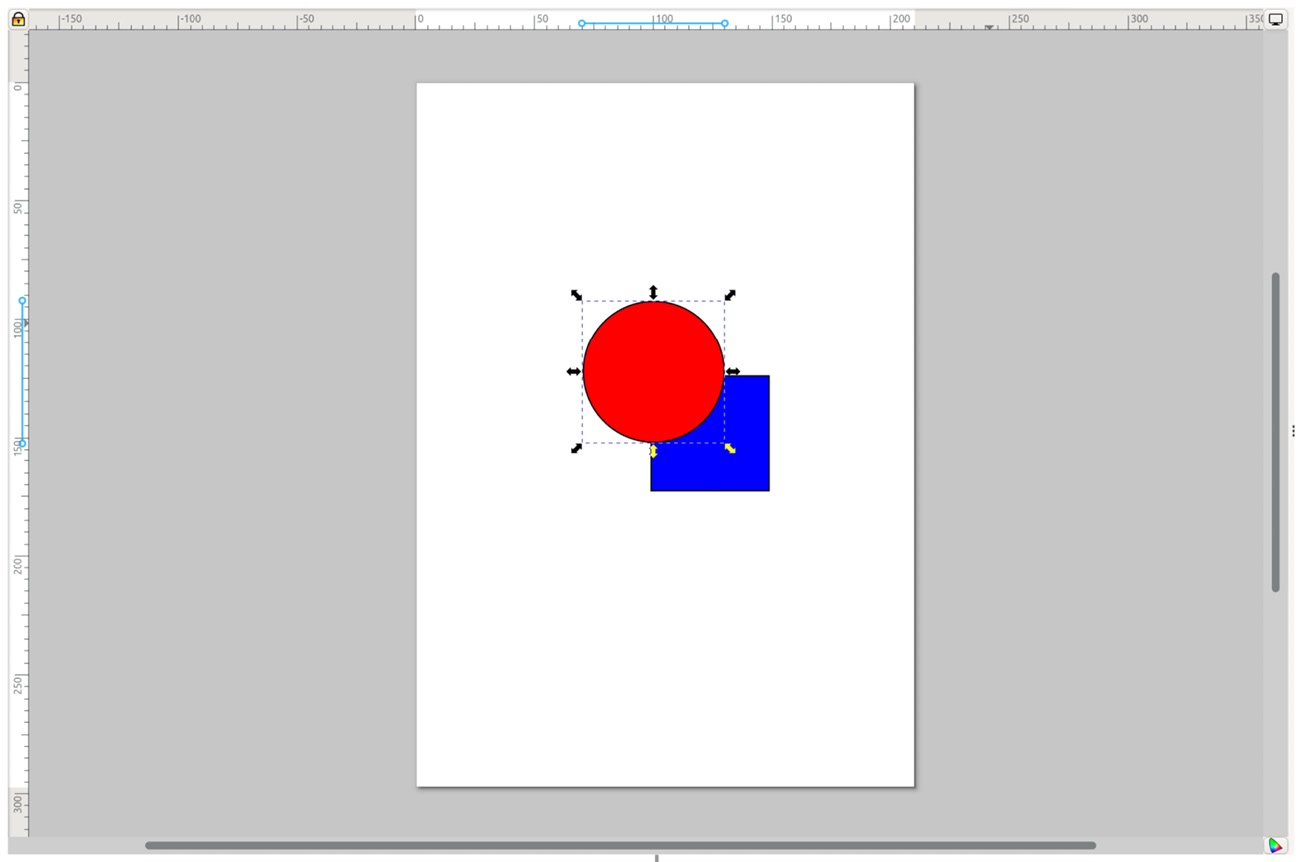
Figure 1.14 – The Desk area with a few shapes drawn on the Page area
Although you can draw anywhere in the Desk area, the Page area is a good place to keep your main graphics. It’s what will appear in the thumbnail preview of your file browser and web browser, or what someone will see when they open that PDF you saved. It’s also the region that is exported when choosing the Page option in the PNG Export dialog (more on that later).
Here are some tips for navigating the Desk and Page areas:
- Zoom in and out: Hold the Ctrl key and use the mouse wheel to zoom in and out. If your computer supports a touch screen, you can also pinch to zoom, or use the + and – keys as well. There is also a Zoom tool in the Tool bar that looks like a magnifying glass, but with all these great ways to zoom without switching tools, I recommend the other methods.
- Panning the view: Moving the view from side to side or up and down is called panning. Sure, you can drag the tiny scrollbars at the bottom and left-hand side of the canvas, but you could also just hold the spacebar down, which will grab the canvas and move it as you move the mouse.
Holding the middle mouse button also works if you have one, but once you get used to the spacebar method, it’s going to be your go-to method of panning. You will wish your other applications did the same after a while.
- The context menu: What if you didn’t have to move your mouse off the canvas to access some of the Menu bar items? Even better, what if you could just right-click on the canvas, or an object on the canvas and instantly be offered a subset of actions just for that kind of object? Well, that’s exactly what the context menu is for! Simply right-click on the Desk, Page, or any selected object and you will be presented with a choice assortment of useful things, as you can see in Figure 1.15:
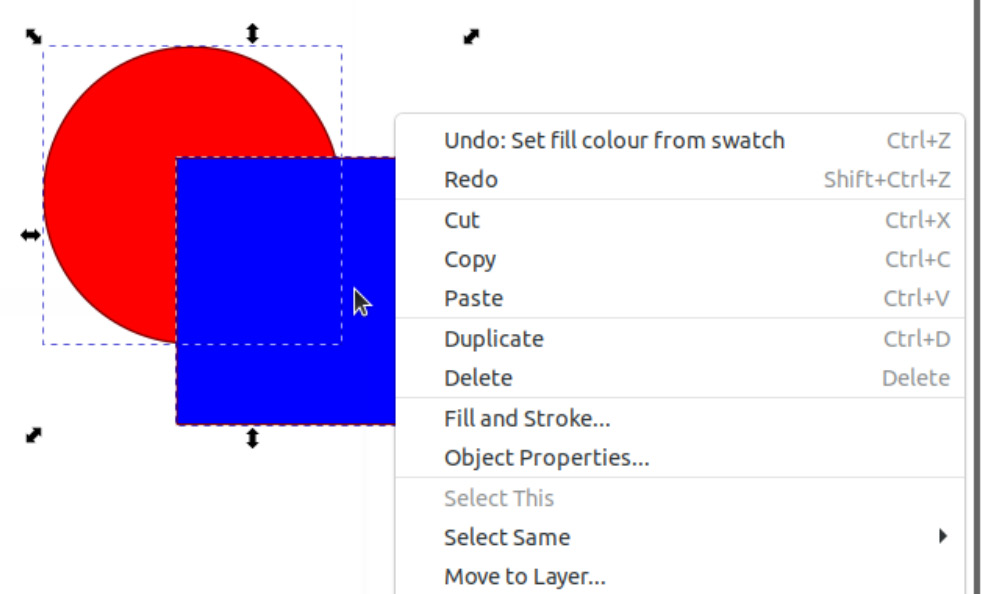
Figure 1.15 – Right-clicking this selection brings up the context menu for what is selected
So, now that you know how to get around the Desk area, let’s have a look at some ways you can color your shapes with the Swatch Palette.