

Editing shapes with the Node tool
Fortunately, Inkscape allows us to make virtually any shape we please with the Edit Paths by Nodes tool, which we will refer to from here on out as just the Node tool.
Before we can edit our shapes, however, we need to convert them from objects into paths, which we can then edit node by node. Take the glass we made in the previous chapter, for example – maybe we’d like to make it a bit narrower at the bottom, as shown in Figure 5.1:
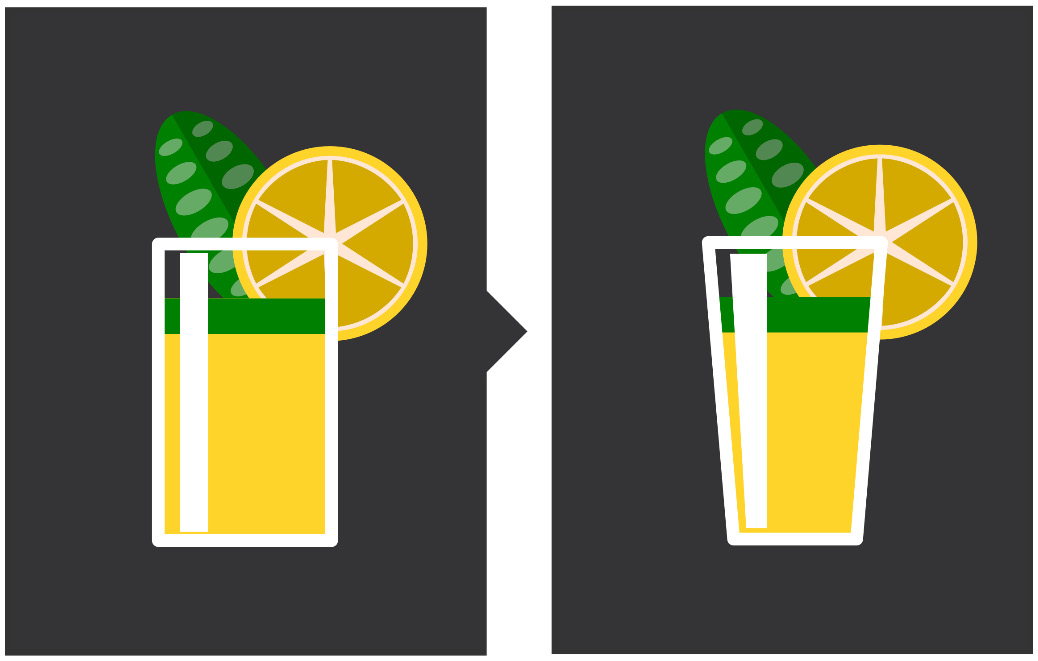
Figure 5.1 – Before and after versions of our glass
Let’s begin by selecting the Node tool from the Toolbar area and selecting our glass. We’ll ungroup the glass by pressing Ctrl + Shift + G or selecting Object > Ungroup, then select our glass rectangle object. Note that we have our corner rounding handles still, which are object properties. Converting from Object into Path lets us edit all the nodes instead of just the object properties, and to do that...