
The Tool bar and Tool control bar
These two go hand in hand. The tools are on the left, and the controls for the tools are at the top. When you choose a tool from the bar on the left, the Tool control bar will display all the options for that tool. For example, if you choose the Star and Polygon tool, the Tool control bar area displays the number of points, whether it’s a star or a polygon, and even the rounding of the points! Changing to the Text tool shows all the various fonts, letters, line and character spacing, and so on.
When the Star and Polygon tool is selected, the Tool control bar shows options for the tool, such as how many corners the star has, as shown in the following screenshot:
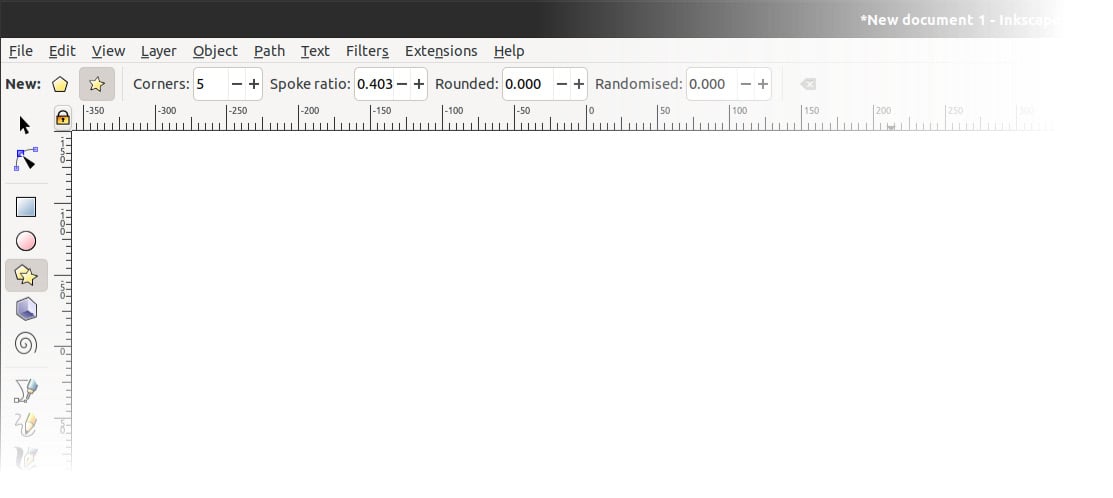
Figure 1.12 – The Star and Polygon tool
Double-clicking on a tool in the Tool bar will bring up options for that tool (see Figure 1.13), including Last used style, which you’ll probably want to turn on so that Inkscape remembers the fill color and stroke thickness of the last shape you drew, the last font you used for text, and so on. Double-clicking a tool brings up the Preferences dialog for that tool:
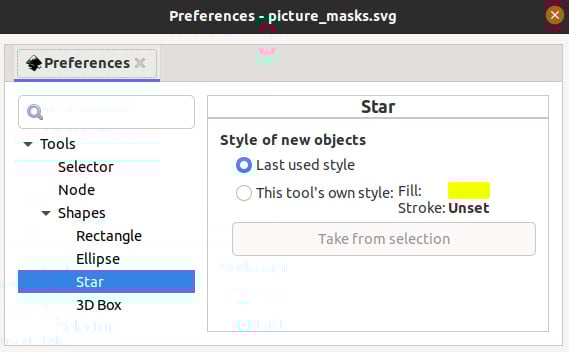
Figure 1.13 – Star tool Preferences dialog
We’ll be exploring the various options for each of these tools in detail in the next chapters, but for now, let’s move on to the main event – the Desk and Page areas.