

The Docking area and dialogs
This area, featured in Figure 1.21, will show all dialogs you call up, and provides a customizable space where you can keep one or more of them handy while you work:
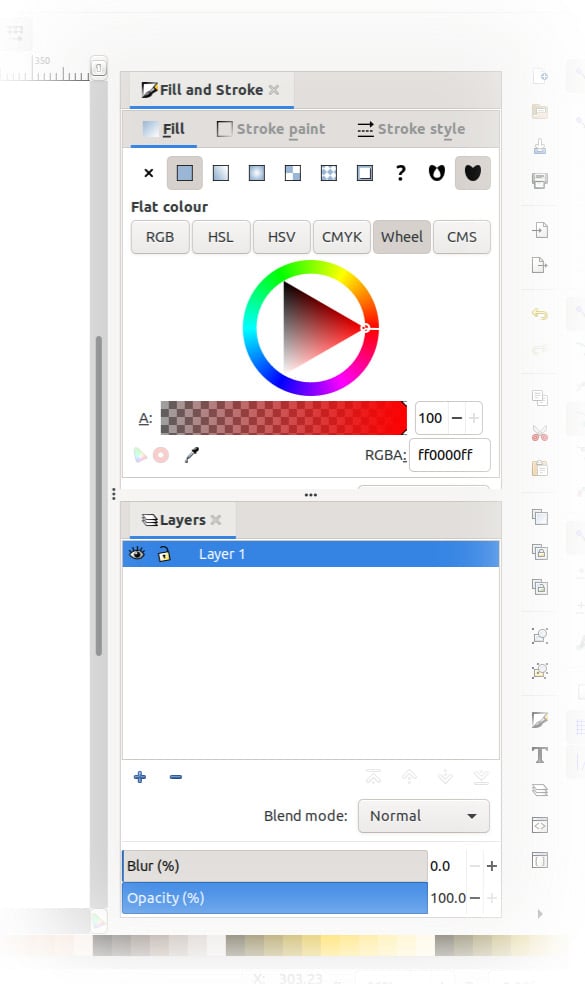
Figure 1.21 – The Docking area, shown here with the Fill and Stroke and Layers and Objects dialogs
When opening Inkscape for the first time, you may not see any dialog boxes. There are various ways of summoning these dialogs, such as clicking the Fill and Stroke color bars (as mentioned previously), or by using equivalent options in the Menu bar (Object > Fill and Stroke, for example).
You can click and drag the tabs at the top of each dialog to rearrange them in the Docking area, and as of Inkscape 1.1, you can even dock them to the other side of the screen next to your Tool bar if you wish.
Notice the three dots on the left-hand side of the dialogs. This is a handle, which you may use to resize the dialogs. Handles are also present between each dialog for the same purpose.
Tip
At the time of writing, developers are working hard to shrink the area needed for some of the wider dialogs. Meanwhile, you can also drag out a dialog into a floating window and then close it. Inkscape will remember your preference and will float the dialog when you call it up again so that it does not constantly use up space in your dock. The F12 key also toggles the Docking area on and off, so if it’s encroaching on your drawing space, you can banish it temporarily and pull it back out when you need it.
Moving further to the right, there is another bar of icon buttons, though you will probably not need these as often. Let’s have a look at the Commands bar.