

Vectorizing to black with the Single scan tab
The simplest method of vectorizing with Trace Bitmap is using a black-and-white or high-contrast image. Once you have your image on a canvas (by dragging the image from your filesystem onto the canvas, or using File > Import), you simply select the image and then select Path > Trace Bitmap. This brings up the Trace Bitmap dialog, as shown in Figure 14.2.
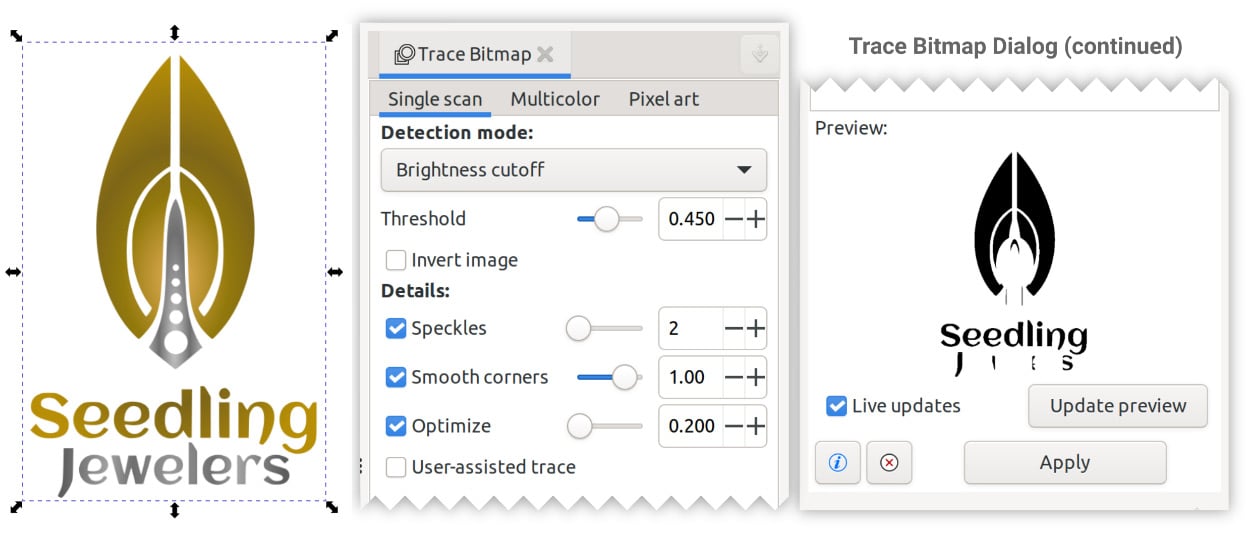
Figure 14.2 – The Trace Bitmap dialog
Using the Single scan tab, and Detection mode set to Brightness cutoff, we get a black-and-white preview at the bottom of the dialog. Note that since our logo bitmap is colored with gradients, some of the preview is missing.
This is because Brightness cutoff uses the Threshold value to determine where the brightness cutoff should be. Smaller values closer to 0.0 will capture only the darkest areas of the image, and values closer to 1.0 will capture lighter and lighter colors. Since some parts of our logo...